
Freeze drying, also known as Lyophilization, is a process of preserving perishable materials such as food, medicine, and biological materials by removing moisture from them. This process allows these perishable items to stay stable for much longer than if they were just stored in normal conditions. Freeze-drying removes moisture by turning it into ice, and then through a process called sublimation, converts solid ice into vapor, which can be removed.
Whey protein is a common ingredient in many nutritional supplements and is essential for muscle growth and recovery. It is derived from milk and is often produced during the cheese-making process. Whey protein supplements can be quite expensive, but with the help of a HarvestRight Freeze Dryer, making your whey protein powder can be a cost-effective and straightforward process.
Here is a comprehensive guide on how to make whey protein powder using a HarvestRight Freeze dryer:
Step 1: Collect the Whey
Begin by collecting the whey from cheese making. This can be done by straining the whey through cheesecloth, separating it from curds. Afterward, the collected whey should be placed in an airtight container and chilled in the refrigerator.
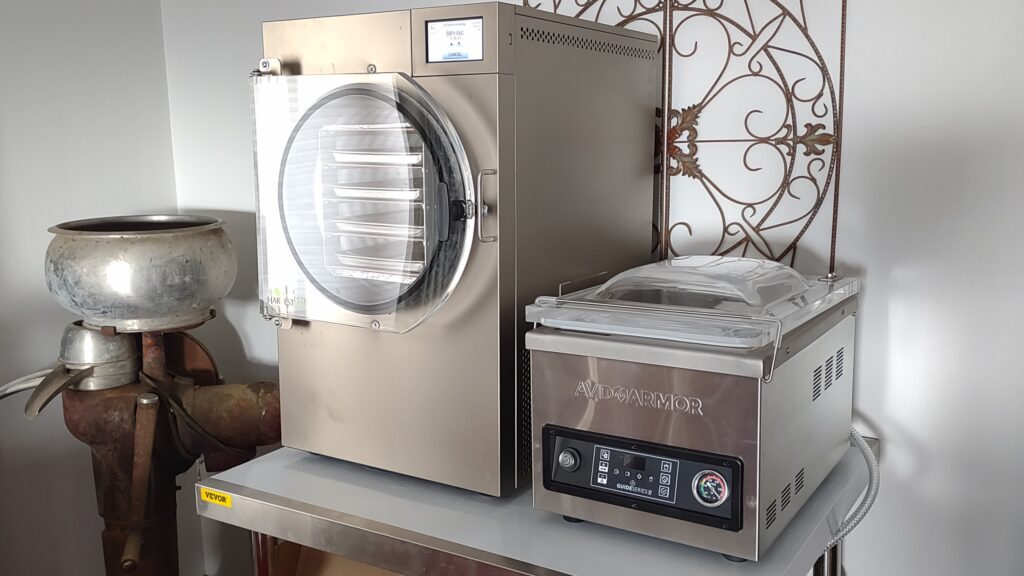
Step 2: Prepare the HarvestRight Freeze Dryer
The next step is to prepare the HarvestRight Freeze dryer for the process. To do that, start by setting up the trays to accommodate the whey. It is essential to ensure that the whey is spread evenly, and the trays are not overloaded. Too much material on a tray can significantly impact the quality of the resulting powder.
Step 3: Begin the Drying Process
Once the trays are set up, start the HarvestRight freeze dryer. It is recommended to let the drying process run for a minimum of 24 hours for the best results. However, drying times can vary based on several factors, such as the amount of whey being dried and the settings chosen. It is essential to follow the manufacturer’s guidelines, carefully considering the recommended settings before proceeding.
Step 4: Breaking the Protein Powder into Small Chunks
Once the drying process is complete, remove the whey powder from the trays and transfer it to a blender or food processor. Pulse the whey powder, breaking up any chunks and making it into a fine, uniform powder.
Step 5: Storing the Whey Protein Powder
Store your freshly homemade whey protein powder in airtight containers or mason jars and keep them in a cool, dry place. When stored correctly, the whey protein powder can last up to several months.
Ideally, the whey protein powder should be vacuum sealed. We reccommend using mylar bags for longterm storage. Avid Armor is a manufacturer of vacuum sealers.
One thing to note is that the estimate of the energy cost to make a pound of whey protein powder with a HarvestRight Freeze dryer using the Minnesota electrical rate is $0.58. One study estimates that the energy consumption to produce a pound of whey protein powder using freeze-drying is about 4.8 kWh. It is crucial to keep in mind that additional costs such as equipment, labor, or raw materials, and production factors would affect the total cost of producing whey protein powder.
In conclusion, making your whey protein powder with a HarvestRight Freeze Dryer using freshly collected whey is a cost-effective way to obtain a high-quality protein supplement that is essential for muscle growth and recovery. With careful attention to detail and strict adherence to the manufacturer’s guidelines, you can make high-quality whey protein at a fraction of the cost of buying a pre-made whey protein supplement.
#ads Some links on this page may be affiliate links. They are there to help offset the costs of our podcast.