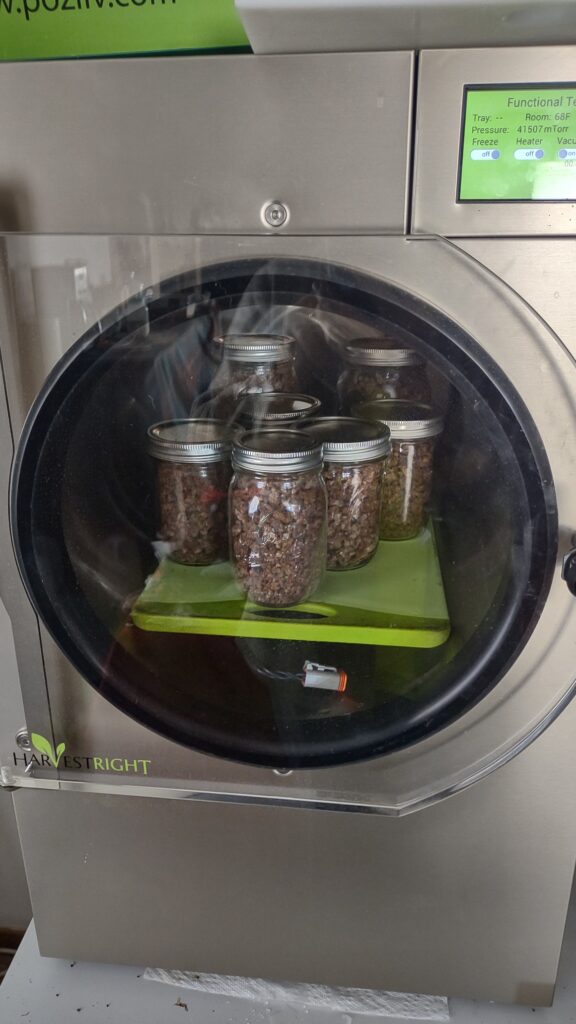
We own a medium sized Harvest Right freeze dryer. Today, we used it for more than freeze drying.

We removed the freeze drying trays and slipped in a medium sized cutting board. The cutting board gives us a flat surface in which to set the jars, in the cylindrical freeze chamber.
After freeze drying our food (in this case, we freeze dried 8 lbs of DIY spaghetti meat that we cooked earlier) and putting it into canning jars, we placed the jars into the Harvest Right. The lids of the jars were screwed on until one could feel them making contact with the glass rim.
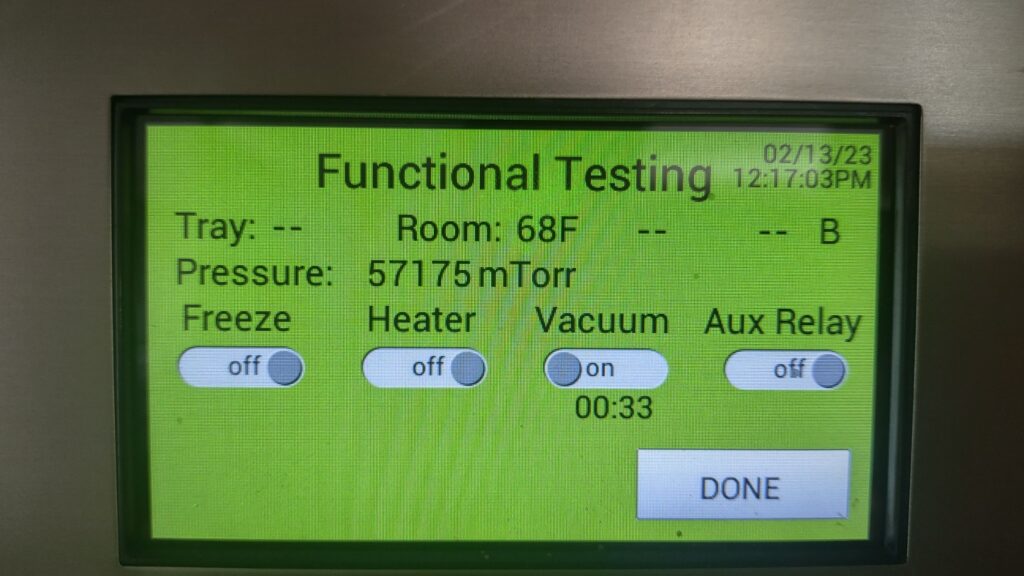
On the control panel of the Harvest Right, we tapped the sprout/leaf logo, in the upper left of the screen, to get to the ‘Function Testing’ screen (below).

As you can see on the screen, the 3rd test operation’s option is the vacuum. We made sure the vacuum vent/drain valve was close, then switched on the vacuum. After 50 seconds, we switched the vacuum to the off position.
We then opened the vacuum vent/drain valve to release the chamber vacuum, opend the door and checked our jar lids. They were all sealed. We then hit ‘DONE’.
It’s really that simple. We’ve sealed many, many jars using this method and have never imploded or exploded a single jar.
If the lid is too tight on the jar, you stand a chance of exploding a jar.
If you let the vacuum pump run to long, creating too much vacuum, the jar can crush or implode.
Harvest Right website: www.harvestright.com
